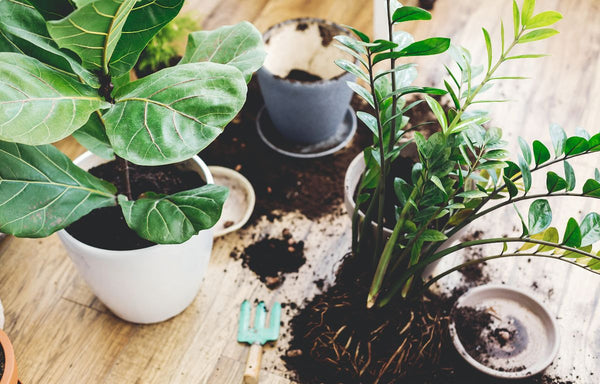
How to Re-pot Your Fiddle Leaf Fig
Fiddle Leaf Figs (Ficus lyrata) have become a popular choice for homes across the UK, admired for their striking, large leaves and ability to create a statement in any indoor space. While these plants are relatively easy to care for, repotting is a crucial part of maintaining their health and promoting growth.

Why Repotting Matters
Repotting your Fiddle Leaf Fig is essential to its care routine. Here’s why it’s so important:
Providing Space for Roots to Grow
As Fiddle Leaf Figs mature, their roots grow and need more space. If left in the same pot for too long, the plant can become root-bound, with the roots coiling around themselves. This can stunt growth and lead to health issues. Repotting gives the roots the space they need to expand and absorb water and nutrients properly.
Refreshing Nutrients
The potting soil your plant grows in will gradually lose its nutrient value. Repotting allows you to introduce fresh, nutrient-rich soil, providing your Fiddle Leaf Fig with the resources it needs to continue thriving.
Managing Pests and Disease
Over time, the soil in your plant’s pot can harbour pests or become affected by diseases that harm the plant. Repotting provides an opportunity to inspect the roots and soil, removing any unwanted pests or unhealthy sections before they become a bigger issue.
When to Repot Your Fiddle Leaf Fig
In the UK, the best time to repot your Fiddle Leaf Fig is during the spring or early summer, when the plant is in its active growing phase. This helps the plant recover more easily from the stress of repotting. It’s advisable to avoid repotting in winter, when growth tends to slow down.

Step-by-Step Guide to Repotting
Repotting may seem daunting, but following this step-by-step guide will make the process straightforward and ensure your plant continues to thrive.
Step 1: Gather Your Materials
To repot your Fiddle Leaf Fig, you’ll need the following:
- A larger pot with drainage holes, about 5-10 cm wider than the current one.
- Fresh, well-draining potting compost.
- Pruning shears or scissors.
- Gloves.
Step 2: Prepare the New Pot
Choose a pot that provides the roots with extra room to grow but is not excessively large. Ensure the pot has drainage holes to prevent water from pooling at the bottom. Add a layer of fresh compost to the bottom of the pot.
Step 3: Remove the Plant from the Old Pot
Gently tilt the plant to one side and tap the pot to loosen the root ball. Support the base of the stem as you carefully slide the plant out. If the roots are tightly wound, gently loosen them with your fingers.
Step 4: Prune the Roots (if necessary)
If you notice any tangled or damaged roots, use clean pruning shears to trim them. This will encourage healthy new growth and prevent the plant from becoming root-bound again in its new pot.
Step 5: Repot the Plant
Position the Fiddle Leaf Fig in the centre of the new pot, ensuring it sits at the same depth as it did in the previous one. Fill the sides of the pot with fresh compost, pressing down gently to secure the plant in place.
Step 6: Water Thoroughly
After repotting, water the plant well until the water starts to drain from the bottom of the pot. This helps to settle the compost and ensures there are no air pockets around the roots. Be cautious not to overwater, as Fiddle Leaf Figs are sensitive to waterlogged soil.
Step 7: Post-Repotting Care
Place your repotted Fiddle Leaf Fig in a spot with bright, indirect light. Allow the top inch of compost to dry out before watering again. Avoid fertilising for about a month to give the plant time to adjust. Watch for any signs of stress, such as drooping leaves, and give the plant time to settle into its new pot.
Repotting Fiddle Leaf Figs can be a rewarding task. For additional tips, read How to Safely Remove a Root-Bound Plant Without Causing Damage. Learn about other popular plants like Plant Profile: Fiddle Leaf Figs (Ficus Lyrata). For inspiration on pots and displays, explore Designing the Perfect Three-Pot Cluster.
